I am obsessed with side dishes lately. There are so many of them out there! To be honest, the sides really can make a meal very interesting. And, they can also make something like a grilled piece of chicken taste almost like a different meal on the second night – depending on which side you serve it with. Same goes with a piece of steak. Or a piece of fish. I like trying to figure out which side would go best with which protein.
My favorite side dishes are the ones that are chock full of ingredients and can actually be eaten as a meal themselves. It’s a side dish one night, the next day it’s a light lunch or a snack. This wild and brown rice with mushrooms (and peas and chick peas and pecans!) is one of those perfect side dishes. And, it’s healthy for you! Wild and brown rice are much better for you than all that bad white stuff, they have low glycemic indexes and are more filling.
This dish is chewy from the rice, crunchy from the pecans and earthy from the mushrooms and herbs…extremely satisfying. Pair it with your favorite protein and enjoy.
Here’s what you will need to serve 4 sides…
Recipe
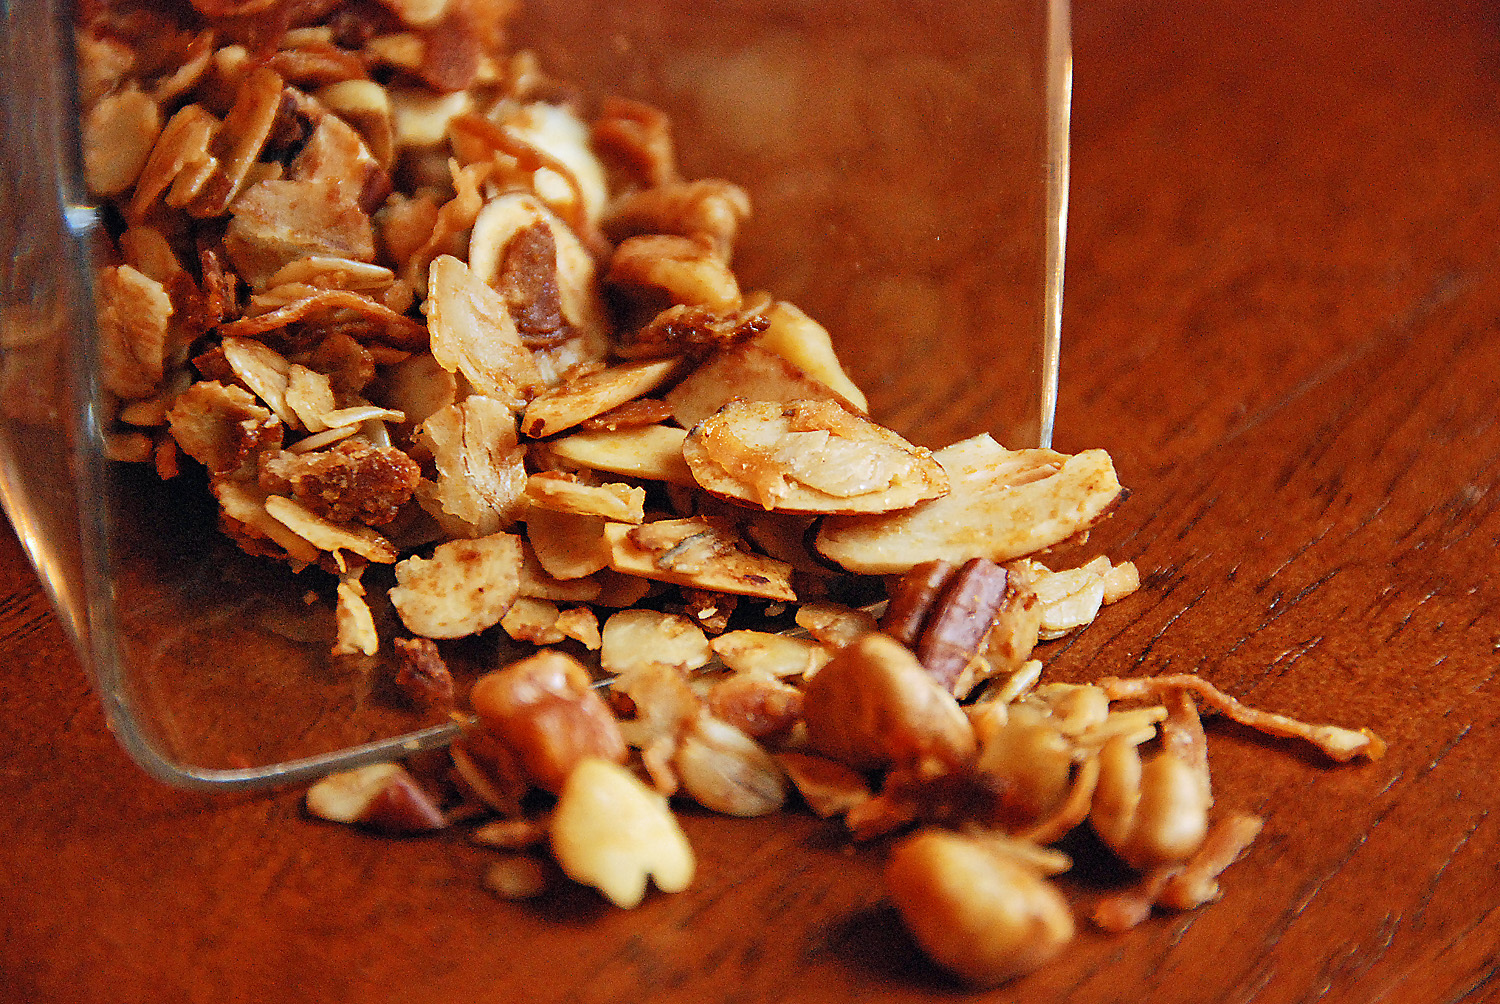
1 cup uncooked brown & wild rice blend
5-6 medium sage leaves, minced
1 tsp thyme
2 tbsp parsley
1 tbsp butter
1 tbsp olive oil
1 cup frozen peas
1 package baby portobello mushrooms, sliced thick (stems removed)
1/3 cup pecans
15 oz can chick peas, rinsed and drained
salt & pepper, to taste
Method
Prepare wild rice blend according to package directions (takes about 40 minutes to cook).
Meanwhile, toast the pecans in a dry skillet for approximately 5 minutes, tossing often. Remove from pan.
In a large skillet heat the butter and olive oil. Add the mushrooms and saute for 3-4 minutes. Add the thyme, sage and frozen peas. Saute for 2-3 minutes. Add pecans to the skillet, mix and continue to cook for 2-3 minutes more.
Add the cooked wild rice blend and some salt & pepper to the mushroom mixture and stir to combine well. Finally, add the chick peas to the pan and fold in gently. Just before serving sprinkle with parsley.

- 1 cup uncooked brown & wild rice blend
- 5-6 medium sage leaves, minced
- 1 tsp thyme
- 2 tbsp parsley
- 1 tbsp butter
- 1 tbsp olive oil
- 1 cup frozen peas
- 1 package baby portobello mushrooms, sliced thick (stems removed)
- ⅓ cup pecans
- 15 oz can chick peas, rinsed and drained
- salt & pepper, to taste
- Prepare wild rice blend according to package directions (takes about 40 minutes to cook).
- Meanwhile, toast the pecans in a dry skillet for approximately 5 minutes, tossing often. Remove from pan.
- In a large skillet heat the butter and olive oil. Add the mushrooms and saute for 3-4 minutes. Add the thyme, sage and frozen peas. Saute for 2-3 minutes. Add pecans to the skillet, mix and continue to cook for 2-3 minutes more.
- Add the cooked wild rice blend and some salt & pepper to the mushroom mixture and stir to combine well. Finally, add the chick peas to the pan and fold in gently. Just before serving sprinkle with parsley.