I just realized this is my third ‘breakfast’ post in a row. Seems I am on a breakfast kick lately. I think there is something so comforting about having a hearty and warming breakfast on a cold, winter day. Especially if it is snowing outside!
This baked oatmeal has become my absolute favorite way to prepare and eat oatmeal. It is so easy to put together (no standing over a stove stirring!) and it tastes absolutely delicious. I love how creamy it is and how the bananas sort of melt into the oats and give such a wonderful sweetness. A natural sweetness. Aside from some maple syrup, there is no sugar added to this dish. It is healthy and filling.
This recipe is husband and toddler approved! My two year old always wants to eat this right out of my bowl. After I realized how much she likes it, I now leave out the chopped walnuts, either omitting them completely (it still tastes great!) or toasting them separately and just sprinkling some over my own serving. (She is not eating nuts yet). Sometimes instead of adding walnuts I will sprinkle wheat germ over the top of the dish before I bake it, as I did in this photo above. Also, once each serving is put in the bowl I like to drizzle some extra maple syrup on top for a little indulgence.
The dish I use to bake this in (above) is small, about 7 inches square. It is the perfect size for two people. I have doubled this recipe and used a larger baking dish so we could try having some leftovers and of course doubling the recipe just doubles the goodness. However, I prefer this freshly baked. The leftovers are fine (just add some water or milk and heat in the microwave) but not quite as amazing as eaten hot out of the oven.
To all you New Yorkers out there – I hear we are supposed to get a good amount of snow tomorrow. So, bake yourself some oatmeal and enjoy the beauty of the snow!
Here’s what you will need to serve 2 people…
Recipe
1 cup oats (I use Scottish Style Porridge Oats)
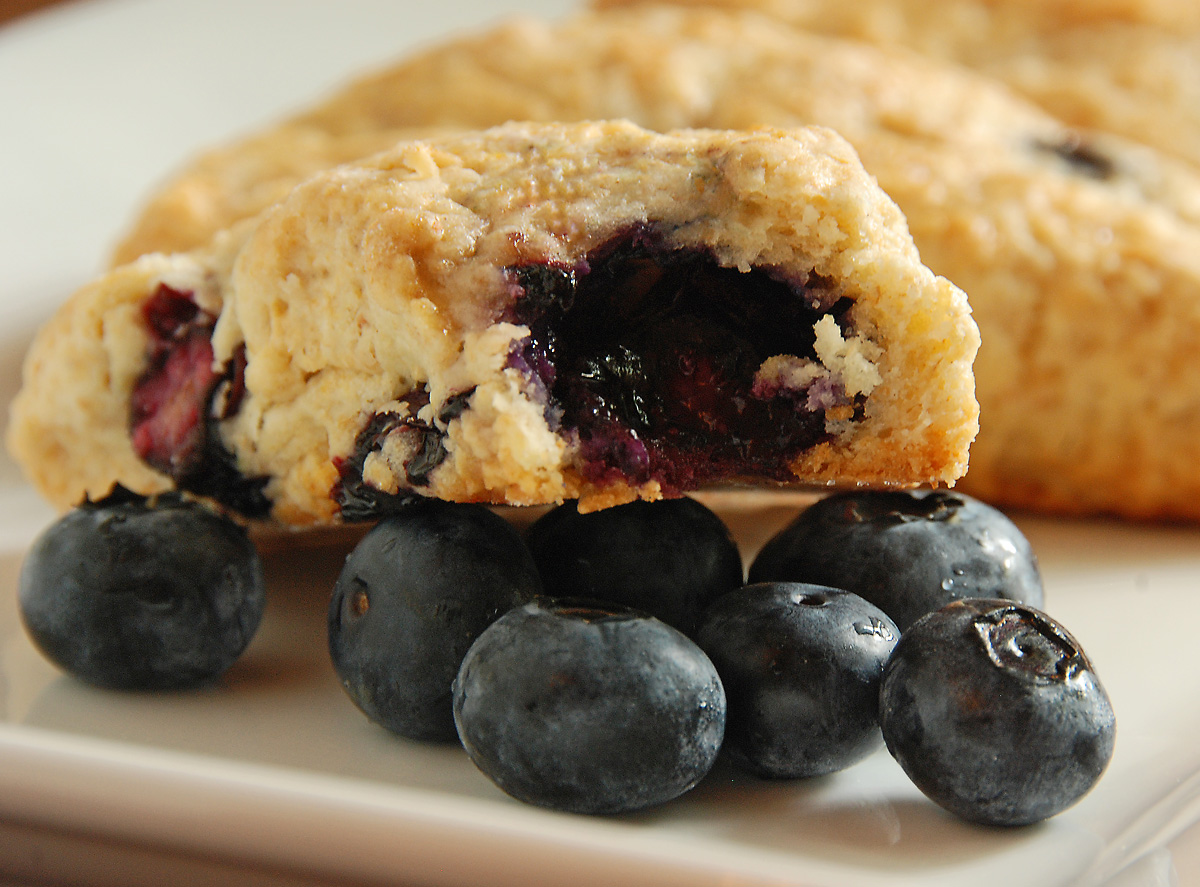
1 cup blueberries
1 large banana, sliced thin
1 tsp cinnamon
1/4 tsp nutmeg
pinch of salt
1 tbsp pure maple syrup
1/3 cup of milk
handful of walnuts, chopped
wheat germ (optional)
flaxseed (optional)
maple syrup (for serving, optional)
Method
Preheat the oven to 375 degrees.
Place the oats in a medium bowl and add very hot water, just enough to cover the oats. Allow to sit for 5-10 minutes. The oats will absorb most of the water.
To the bowl of oats add the cinnamon, nutmeg, salt, milk, maple syrup, bananas and blueberries (flaxseed if you are adding it). I like to hold back a few blueberries and banana slices and place on top. Sprinkle the walnuts over the top.
Lightly butter the bottom of a small baking dish (about 7 inches square) and put the oat mixture into the baking dish, smoothing the top and distributing the ingredients evenly. Add the remaining blueberries and bananas on top.
Bake for approximately 20-25 minutes until the edges are bubbling.
Recipe adapted from various sources.
- 1 cup oats (I use Scottish Style Porridge Oats)
- 1 cup blueberries
- 1 large banana, sliced thin
- 1 tsp cinnamon
- ¼ tsp nutmeg
- pinch of salt
- 1 tbsp pure maple syrup
- ⅓ cup of milk
- handful of walnuts, chopped
- wheat germ (optional)
- flaxseed (optional)
- maple syrup (for serving, optional)
- Preheat the oven to 375 degrees.
- Place the oats in a medium bowl and add very hot water, just enough to cover the oats. Allow to sit for 5-10 minutes. The oats will absorb most of the water.
- To the bowl of oats add the cinnamon, nutmeg, salt, milk, maple syrup, bananas and blueberries (flaxseed if you are adding it). I like to hold back a few blueberries and banana slices and place on top. Sprinkle the walnuts over the top.
- Lightly butter the bottom of a small baking dish (about 7 inches square) and put the oat mixture into the baking dish, smoothing the top and distributing the ingredients evenly. Add the remaining blueberries and bananas on top.
- Bake for approximately 20-25 minutes until the edges are bubbling.